
โดยปกติแล้วเวลาที่เราใช้งาน React หรือ NextJS เลี่ยงไม่ได้ที่จะต้องใช้ Library ต่างๆ และอาจจะมี Library บางตัวที่ต้องกำหนดค่าบางอย่างไว้ตรง root เช่น Provider ของ Redux
ReactDOM.createRoot(document.getElementById('root') as HTMLElement).render(
  <Provider store={store}>
    <Router />
  </Provider>
);
main.tsx
หากใครต้องการเอา Cypress มาใช้ในการทดสอบ Component Testing จะพบว่า หาก Component นั้นเป็นแบบ Stateless หรือไม่ได้เรียกใช้งาน Redux (ไม่มี Dependency) เราสามารถใช้ cy.mount(<Component />) ที่เป็นตัว Default ได้เลย
แต่ถ้าหากใน Components นั้น มีการใช้งาน Redux แล้ว มันจะใช้ cy.mount ตรงๆ เลยไม่ได้ เราต้องมากำหนด การตั้งค่า Redux ในส่วนนี้ด้วย โดยการสร้าง mount ตัวใหม่ขึ้นมาใช้งา ซึ่ง Cypress ก็จะเปิดโอกาศในเราสามารถ Custom Mount Commands เพื่อกำหนดการเรียกใช้งานของ Redux ได้เลย
วิธีการกำหนดนี้เป็นของ cypress version 13.5.1
Redux
สมมติว่า เรามีการกำหนด Redux ไว้ดังนี้
Initial Store
การกำหนดค่า createStore และ การกำหนด ReturnType โดยใช้คำสั่ง
import { legacy_createStore as createStore, applyMiddleware } from 'redux';
import { composeWithDevTools } from 'redux-devtools-extension';
import thunk from 'redux-thunk';

// 1. import reducer
import rootReducer from './rootReducer';

const initialStore = {
  key: 'root',
};

// 2. createStore
const store = createStore(
  rootReducer,
  initialStore,
  composeWithDevTools(applyMiddleware(thunk))
);

// 3. Export ReturnType
type StoreType = ReturnType<typeof rootReducer>
export { store, StoreType };
store/index.ts
วิธีการตั้งค่า Redux ใน Cypress
- เข้าไปที่ cypress/support
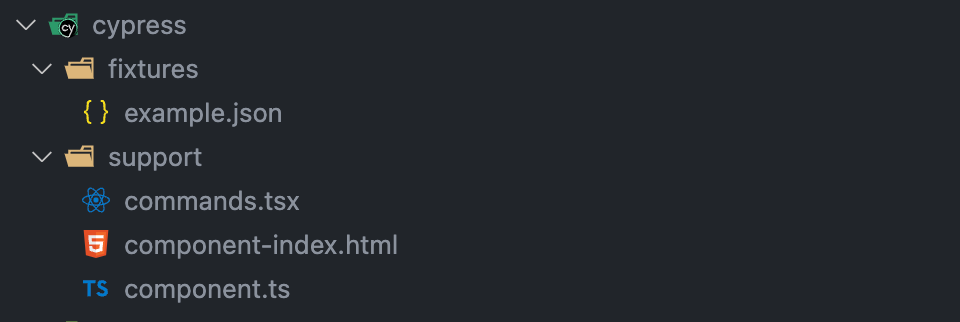
- เข้าไปที่ไฟล์ commands.tsx
ในไฟล์นี้จะเป็นการกำหนด 2 ส่วน คือ การกำหนด interface ของ function mount ตัวใหม่ของเรา และการกำหนด Command.add ที่เป็นตัว wrap Provider ของ Redux ไว้
import { Provider } from 'react-redux';
import { MountOptions, mount, MountReturn } from 'cypress/react18';
import { EnhancedStore } from '@reduxjs/toolkit';
import { store, StoreTypes } from '../../src/store';

declare global {
  namespace Cypress {
    interface Chainable {
      /**
       * Mounts a React node
       * @param component React Node to mount
       * @param options Additional options to pass into mount
       */
      mountWithRedux(component: React.ReactNode, options?: MountOptions & { reduxStore?: EnhancedStore<StoreTypes> }): Cypress.Chainable<MountReturn>;
    }
  }
}

Cypress.Commands.add('mountWithRedux', (component: React.ReactNode, options?: MountOptions) => {
  const wrapped = <Provider store={store}>{component}</Provider>;

  return mount(wrapped, options);
});
cypress/support/commands.tsx
- วิธีการใช้งาน
ถ้าหาก Component ไหนมีการใช้การ Redux ภายใน Component ให้เราเปลี่ยนจาก cy.mount เป็น cy.mountWithRedux (ชื่อที่ได้ตั้งไว้)
import LoadingPopup from './LoadingPopup.tsx';

import { store } from '../store';

it('ทดสอบการเรียกใช้งานงาน LoadingPopup Component', () => {
  store.dispatch({
    type: 'SET_ALERT',
    payload: {
      open: true,
      type: 'warning',
      title: 'Error',
      subtitle: 'Message Error',
    },
  });

  cy.mountWithRedux(<LoadingPopup />, { reduxStore: store });

  cy.get('h1').should('have.text', 'Error');
  cy.get('h4').should('have.text', 'Message Error');
});
components/LoadingPopup.cy.tsx
วิธีการใช้งาน store เราสามารถ import store จากไฟล์ store/index.ts และใช้คำสั่ง dispatch ในการกำหนดค่าลง redux ได้เลย
store.dispatch({
  type: 'SET_ALERT',
  payload: {
    open: true,
    type: 'warning',
    title: 'Error',
    subtitle: 'Message Error',
  },
});
และส่งค่าของ store ไปยัง mountWithRedux ได้เลย
cy.mountWithRedux(<LoadingPopup />, { reduxStore: store });จะสังเกตุว่า ในส่วนของ wrapped ตรงคำสั่ง Cypress.Commands.add เราสามารถเพิ่มการใช้งานต่างๆ ลงไปได้อีก และเราสามารถสร้าง Commands ใหม่ๆ ได้อีก เพื่อรองรับความหลากหลายในการทดสอบ
Cypress.Commands.add('mountWithRedux', (component: React.ReactNode, options?: MountOptions) => {
  const wrapped = (
    <Provider store={store}>
      <Theme>
        {component}
      </Theme>
    </Provider>
  );

  return mount(wrapped, options);
});
cypress/support/commands.tsx
การ Import CSS
ปกติแล้วหากเรามีการ Import CSS เข้ามาใช้งานใน root ไฟล์ เมื่อเรา cy.mount แล้ว CSS จะไม่ทำงาน เราสามารถแก้ไข้เพิ่มได้โดยการ Import ไฟล์ CSS เข้ามาในการ mount ได้เหมือนกัน
import './style/global.css';

ReactDOM.createRoot(document.getElementById('root') as HTMLElement).render(
  <Provider store={store}>
    <Router />
  </Provider>
);
main.tsx
วิธีการ Import CSS เข้ามาใช้งานใน mount ของ Cypress
- ไปที่ cypress/support/components.ts
- จากนั้นก็ Import ไฟล์ CSS เข้ามาใช้งานได้เลย ซึ่งการ Import ไว้ในไฟล์ Components.ts นี้ เราจะสามารถใช้งานได้ในทุกๆ commands (Custom mount Command)
import { mount } from 'cypress/react18';
import './commands';

// Import CSS เข้ามาได้เลย
import '../../src/style/global.css';

declare global {
  namespace Cypress {
    interface Chainable {
      mount: typeof mount;
    }
  }
}

Cypress.Commands.add('mount', mount);
cypress/support/components.ts
Ref: https://docs.cypress.io/guides/component-testing/react/examples#Redux